
.jpeg "Emma Jeffery")
Do you love the idea of curling your wig but feel intimidated by the process?
Are you worried about damaging your wig while trying to achieve those perfect curls? Don't worry – with expert tips from hair replacement specialist and Daniel Alain retail partner, Echo, you'll learn how to curl your wig like a pro without any stress.
In this article, we'll cover the best tools, techniques, and step-by-step instructions to curl your wig safely and effectively. We'll guide you through every step to ensure your curls look natural and last longer. By the end, you'll be ready to rock those curls and might just become your own expert stylist!
Preparing Your Wig
Choosing the Right Wig
When it comes to curling, using a high-quality human hair wig makes all the difference. Human hair wigs can withstand heat-styling, unlike synthetic wigs, and this gives you the freedom to style them just like your natural hair. Echo recommends opting for a premium-quality Follea wig, as they are more durable than cheaper alternatives and provide a natural look.

Cleaning and Detangling
Before you start curling, it’s important to make sure your wig is clean and tangle-free. Start by gently brushing your wig to remove any knots. Use a wide-tooth comb or a pin brush to avoid damaging the hair.

Echo’s favorite products for wig care include a lightweight leave-in conditioner and a detangling spray. These products help keep the wig smooth and manageable, making the curling process much easier. By properly preparing your wig, you’ll ensure that your curls turn out beautifully and last longer.
Tools and Products You'll Need to Curl Your Wig
Curling Tools
To get those perfect curls in your wig, you'll need the right tools. There are various curling wands and straightening irons, and your choice depends on the curl style you want. For tight curls, a small barrel curling iron works best. For loose waves, a larger barrel curling wand or flat iron is ideal.
When curling your wig, it's important to use the right heat settings. For a human hair wig, we recommend keeping the heat setting between below 350°F. Always start with a lower setting and gradually increase if needed to avoid any damage.
Protective Products
Protecting your wig from heat damage is essential. Always use a heat protectant spray before you start curling. This helps shield the hair from the high temperatures of the curling iron or wand.
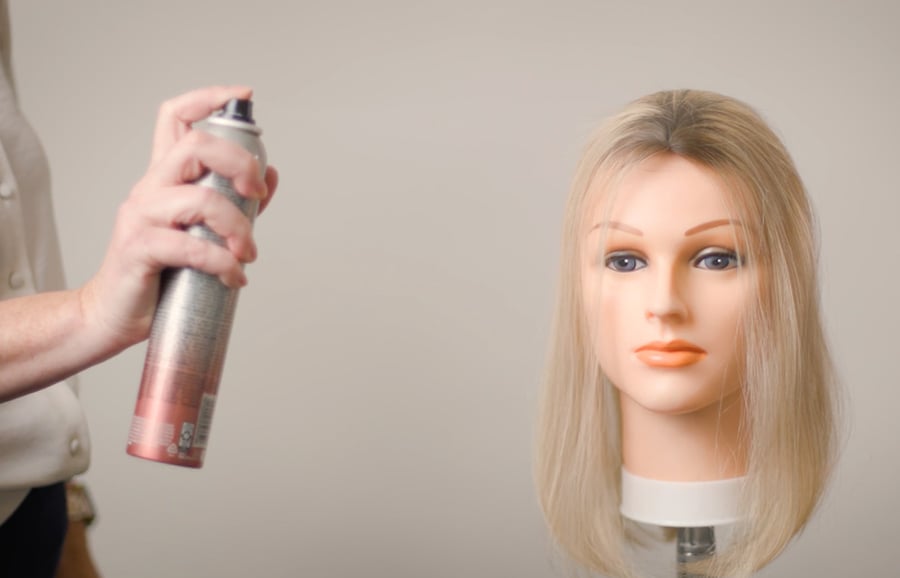
Echo’s go-to products for heat protection are lightweight sprays that don’t weigh down the wig and keep it looking gorgeous and healthy, even with regular styling.
Step-by-Step Wig Curling Process
Step 1: Sectioning the Wig
Before you start curling, it's important to divide your wig into manageable sections. This makes the curling process easier and ensures even curls. Start by placing your wig on a wig stand or mannequin head.
Use clips to separate the hair into sections – typically, dividing the wig into four to six sections works well. Echo suggests starting from the bottom and working your way up for the best results. Make sure each section is even to achieve a uniform look.

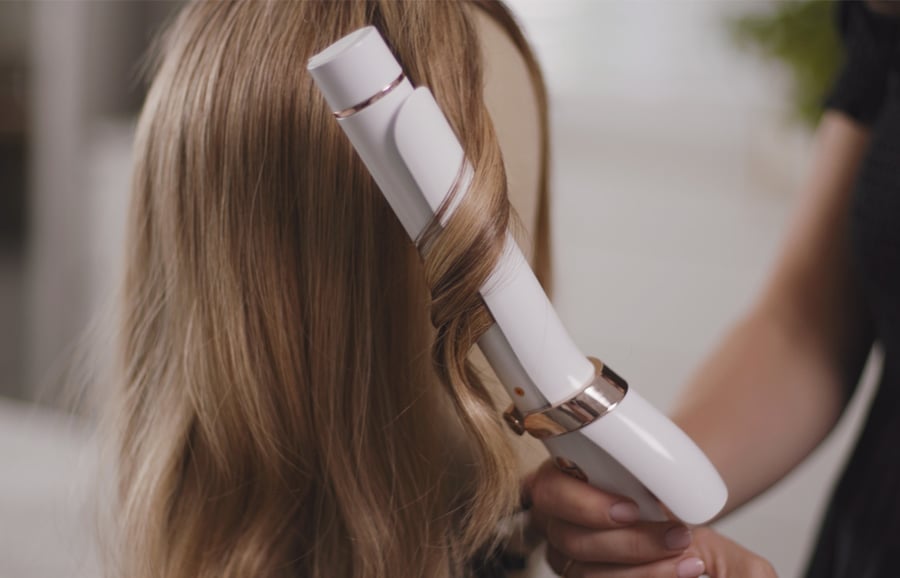
Step 2: Curling Techniques
Now that your wig is sectioned, it’s time to start curling. Here’s how to do it:
1. Grab a small section of hair from your wig. The smaller the section, the tighter the curl; larger sections will create looser waves.
2. Wrap the section of hair around your curling iron or wand. Hold it in place for about 10-15 seconds, then gently release.
3. Continue this process for each section of your wig, working methodically from the bottom to the top.

Echo’s pro tip: To make your curls last longer, let each curl cool completely before moving on to the next section. This helps set the curl better.
Finishing Touches to Your Curled Wig
Once your curls have set, it's time to style and brush them out for a natural look. Use a wide-tooth comb or your fingers to gently separate the curls. This will help create a softer, more natural wave. Avoid using a regular brush, as it can make the curls frizzy.
To maintain volume, lift the roots with your fingers. This adds a bit of height and keeps your curls looking bouncy and full.
If you find any curls that look too tight or out of place, gently reshape them with your fingers. You can also twist sections of hair around your fingers to redefine the curls.
Echo’s pro tip: For extra hold and shine, use a lightweight hairspray or a bit of styling serum. Just a small amount will do the trick, helping your curls stay in place without feeling stiff.
Ready to Curl Your Wig Like a Pro?
Curling your wig might seem daunting at first, but with the right preparation and techniques, you'll master it in no time.
Remember, practice makes perfect! Have fun experimenting with different curl styles and techniques until you find what works best for you. Don't be afraid to get creative and enjoy the process.
Want to learn more about wigs and the life-changing effect a natural-looking human hair wig can bring? Download our Wig Buying Guide and start your journey to finding the perfect wig for you.